28 Oct 11 – Barn Board Layout
I’ve got to be honest. I’ve been looking forward to writing this post the most.
Or more accurately looking forward to posting pictures of the board wall.
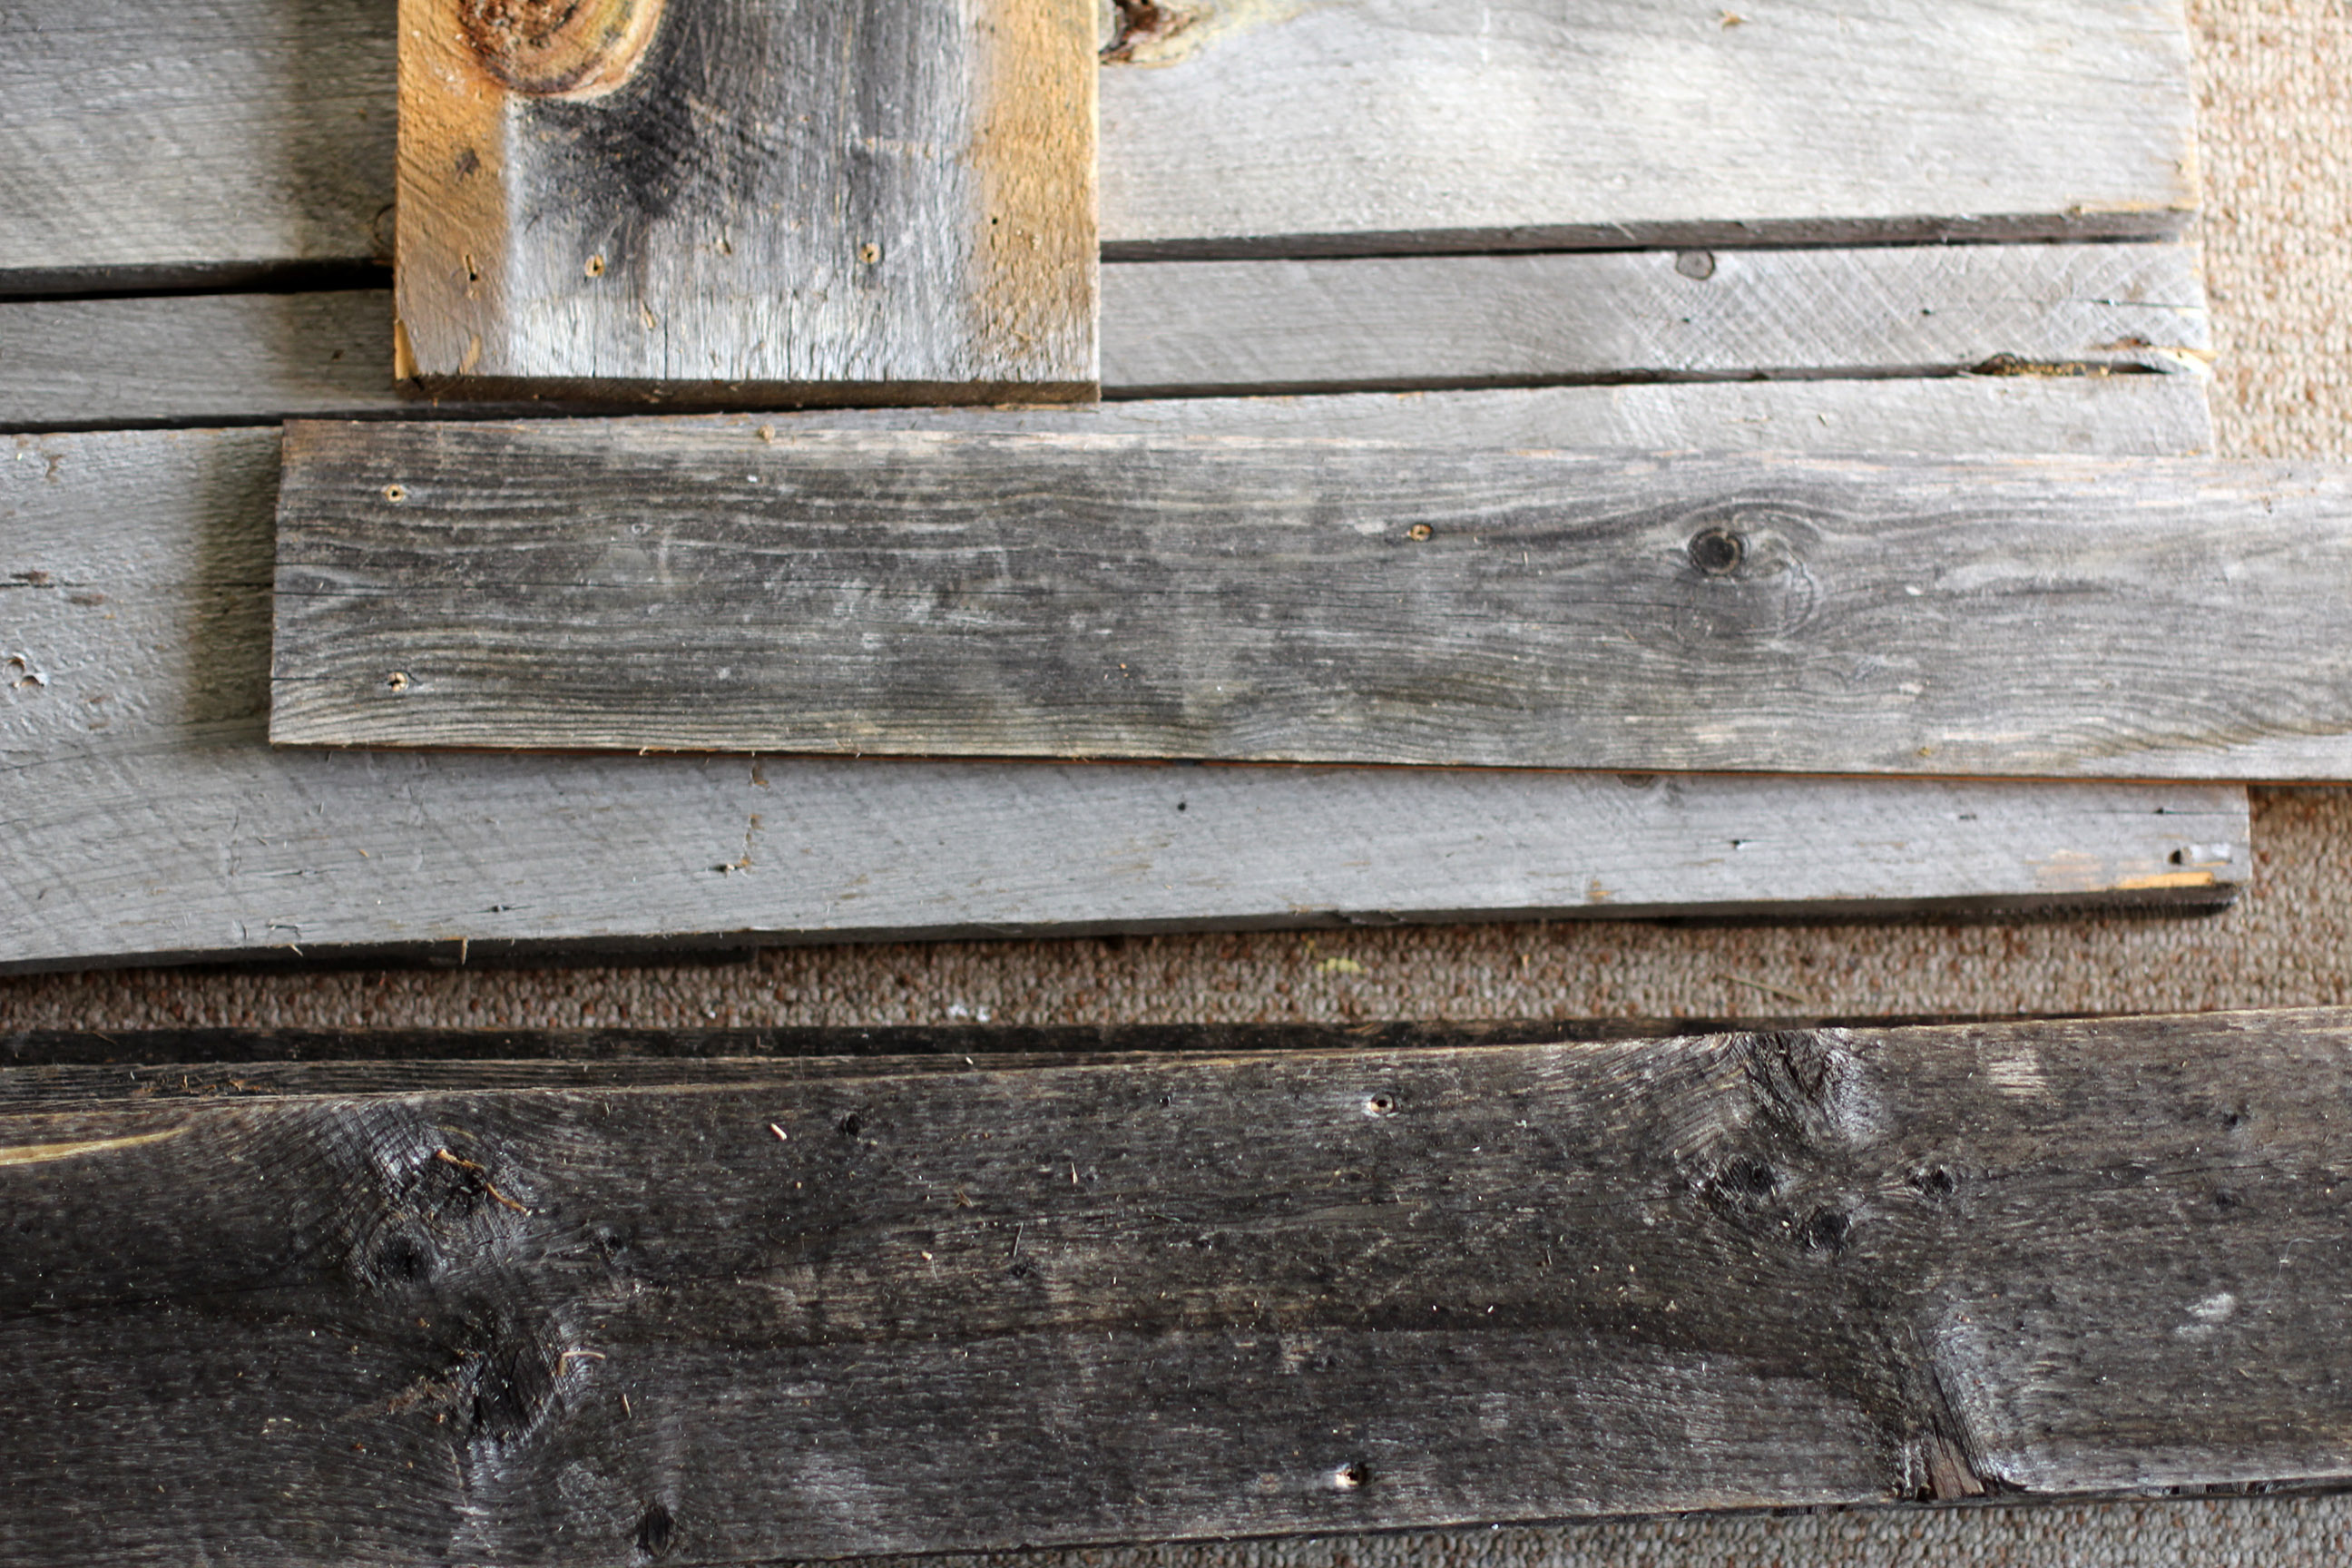
From the beginning I wanted to include the look and feel of weathered barn boards. And well before the expansion started I was scavenging to collect enough to work with. As I came across some boards from here and there I stockpiled them. I hit the jackpot when some friends were dismantling their old sugar house as well as scoring some from another old barn. In the end I ended up with a large selection.
The plan was to use the boards to cover the south wall where the stairs come up as well as wrap the exposed collar ties to finish those.

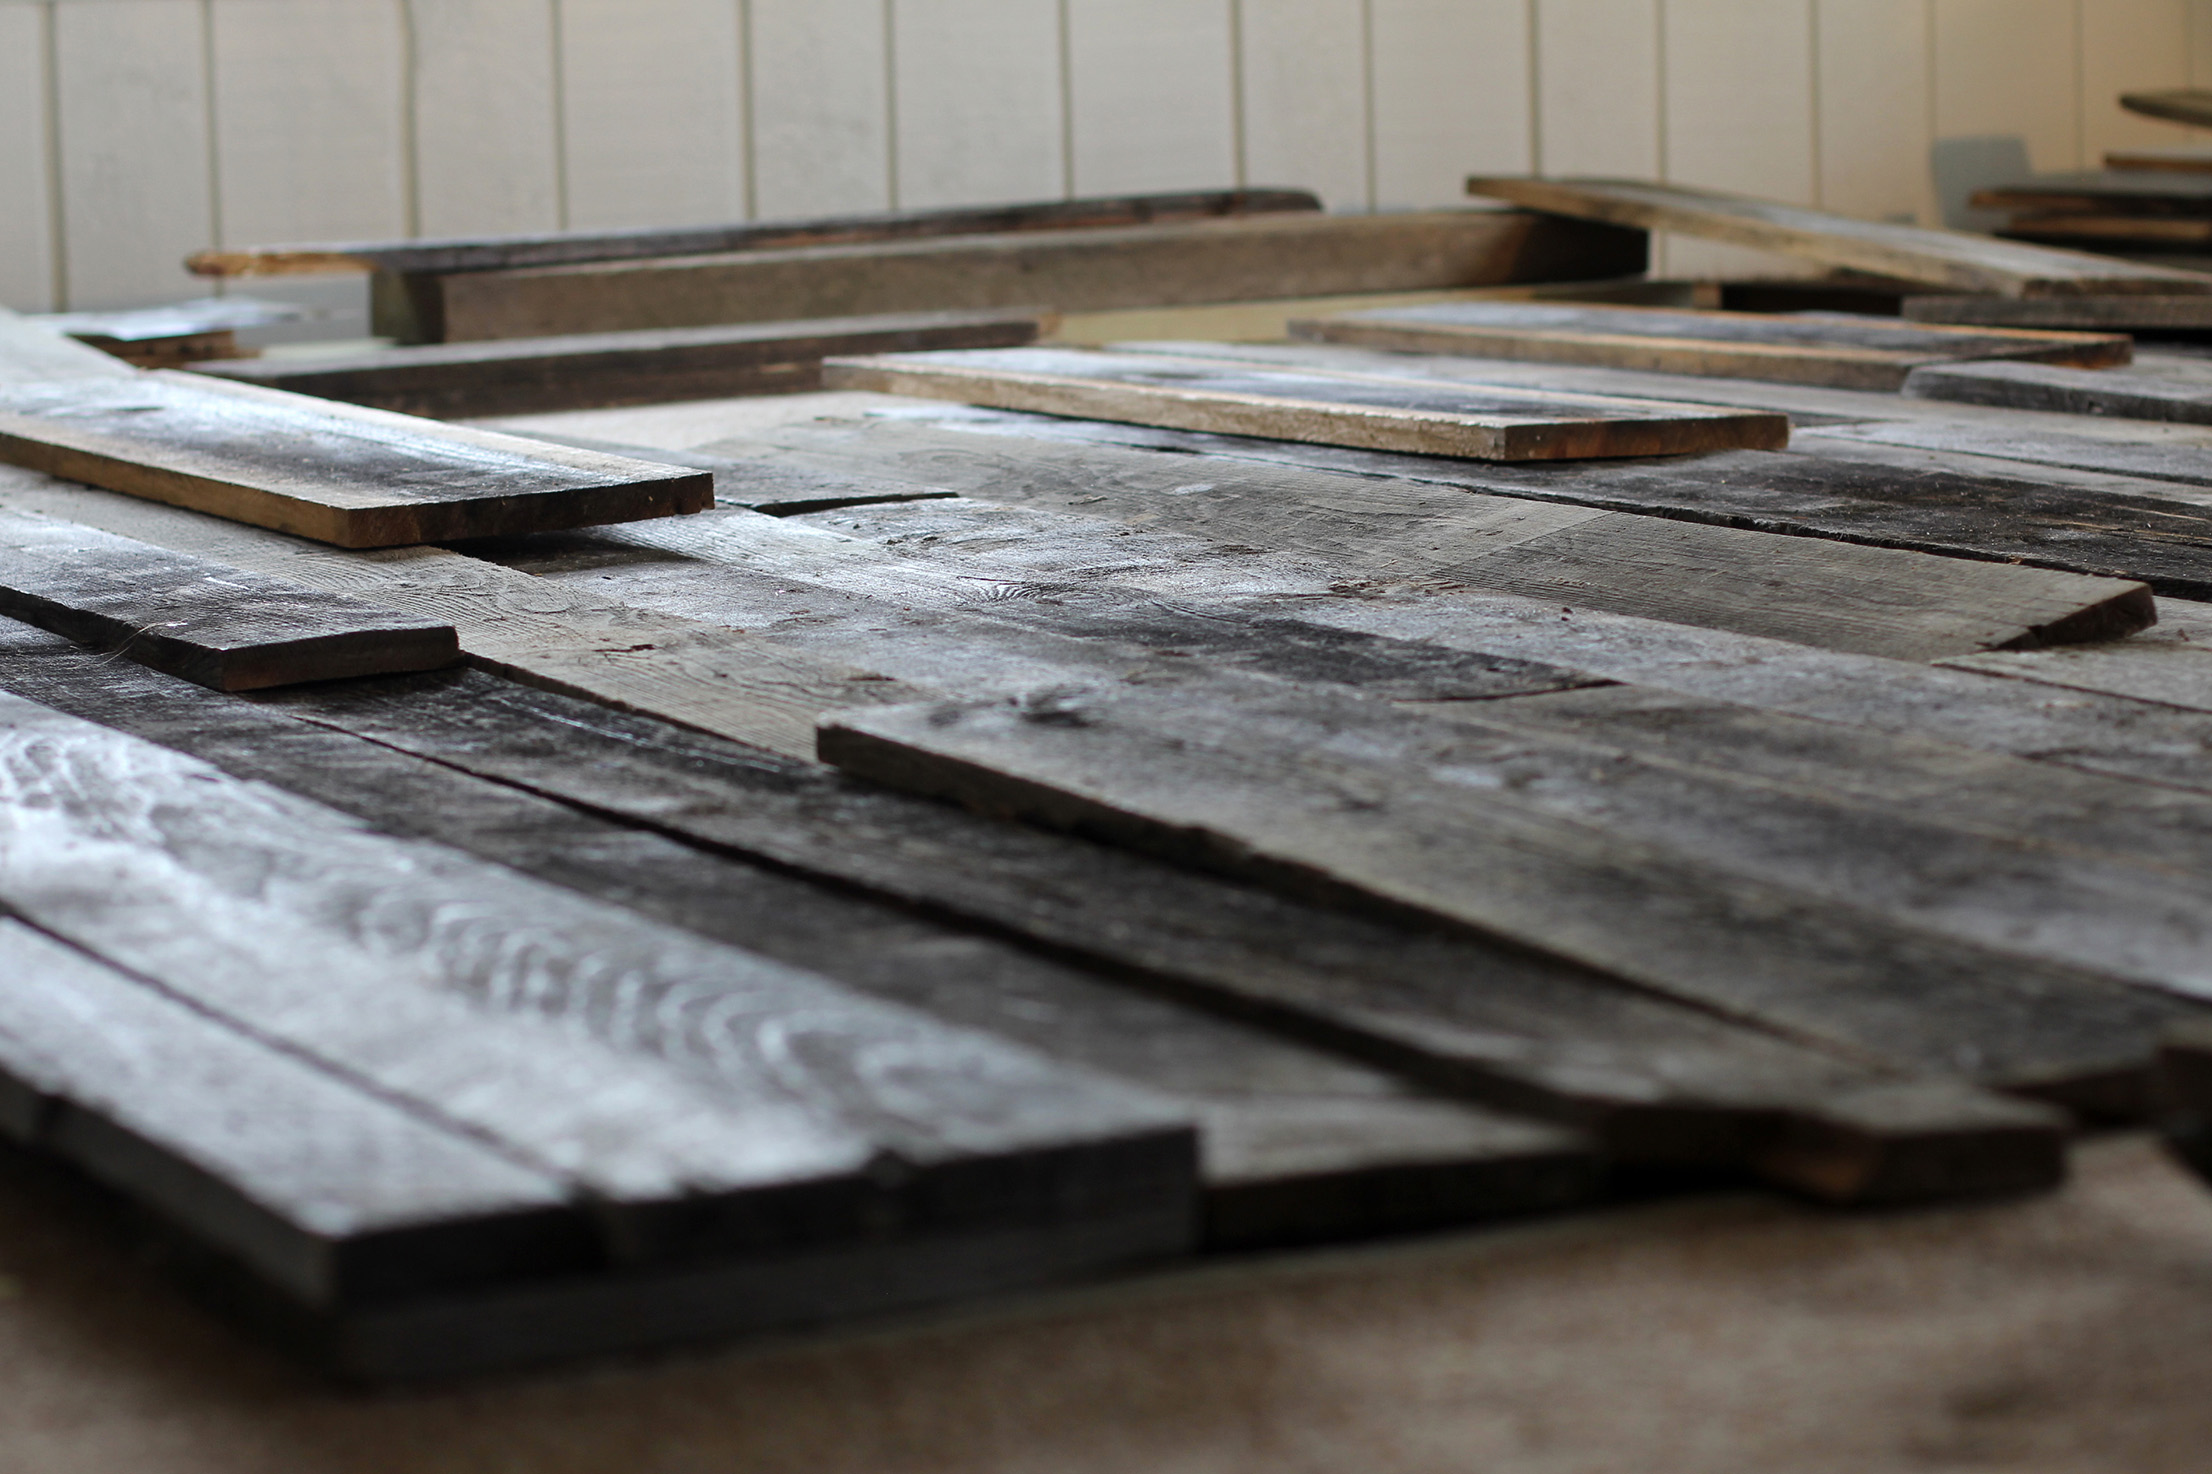
My first step was to layout how I wanted the boards. I taped out a section of the floor that had the same dimensions. Once we started putting up the boards we didn’t quite adhere to the layout there were too many alterations once they were cut to fit, but it was a good start.
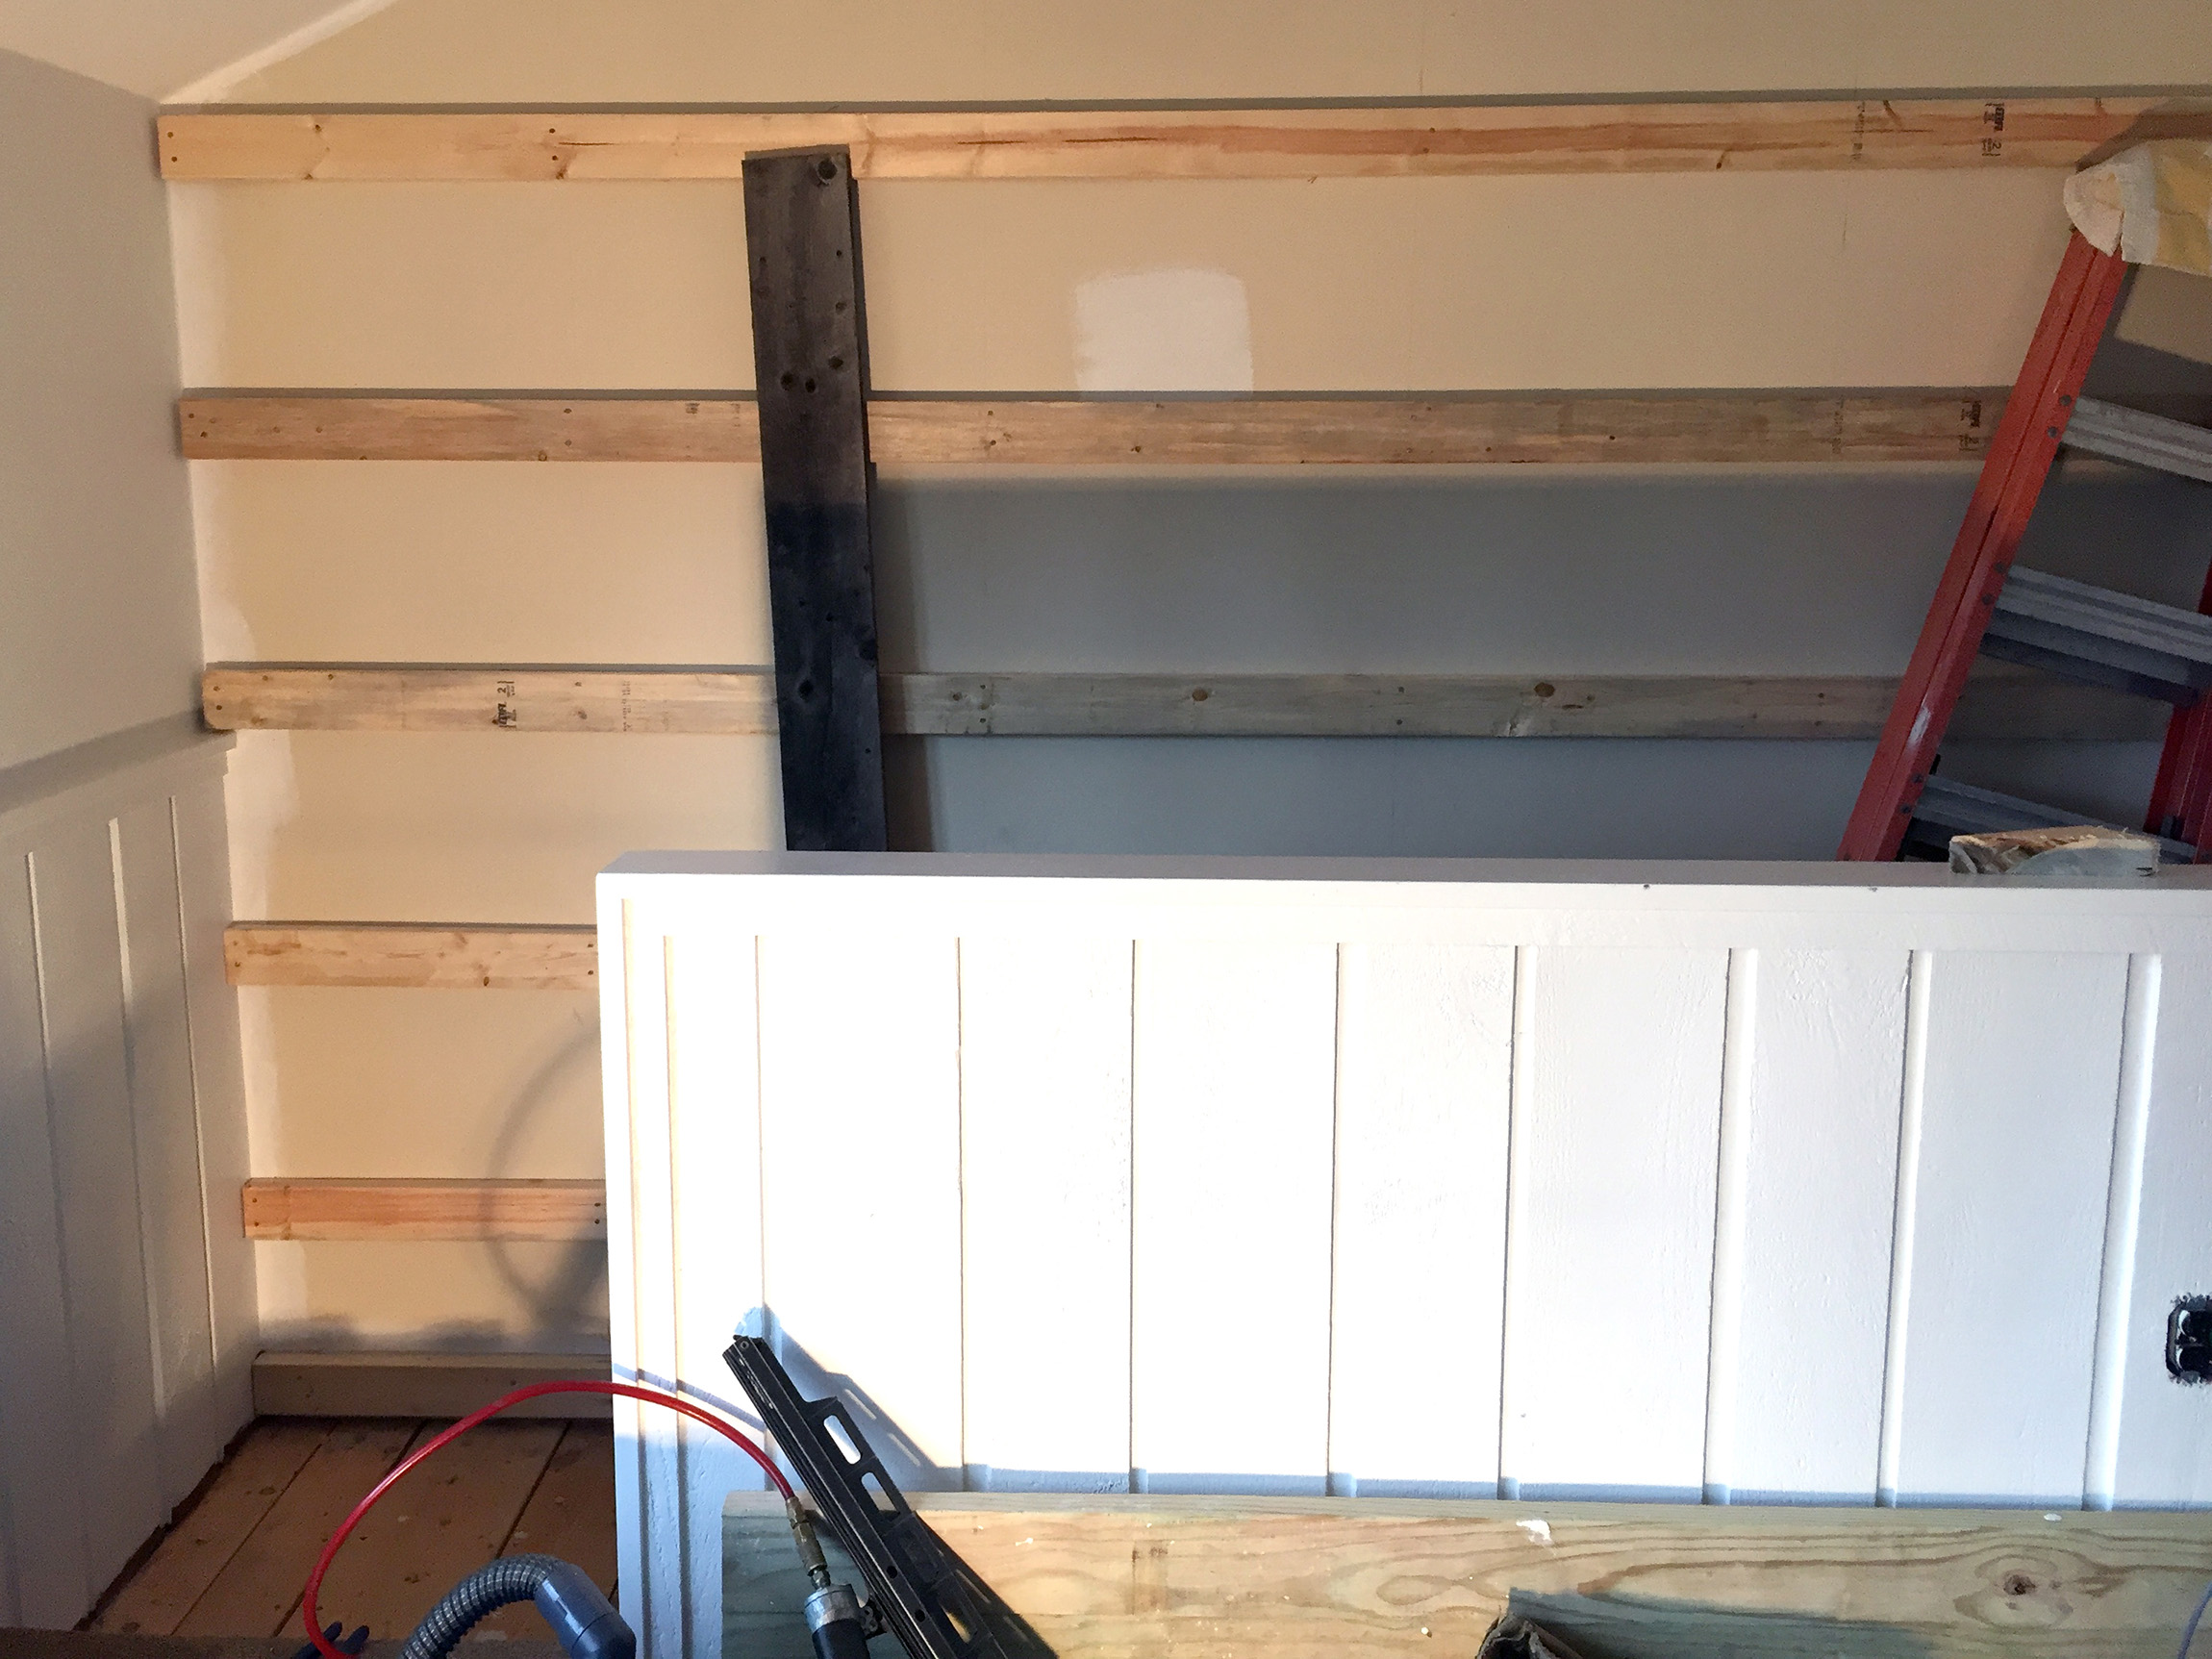
Next we mounted some furring strips to hang the boards. Behind which we packed some more insulation.
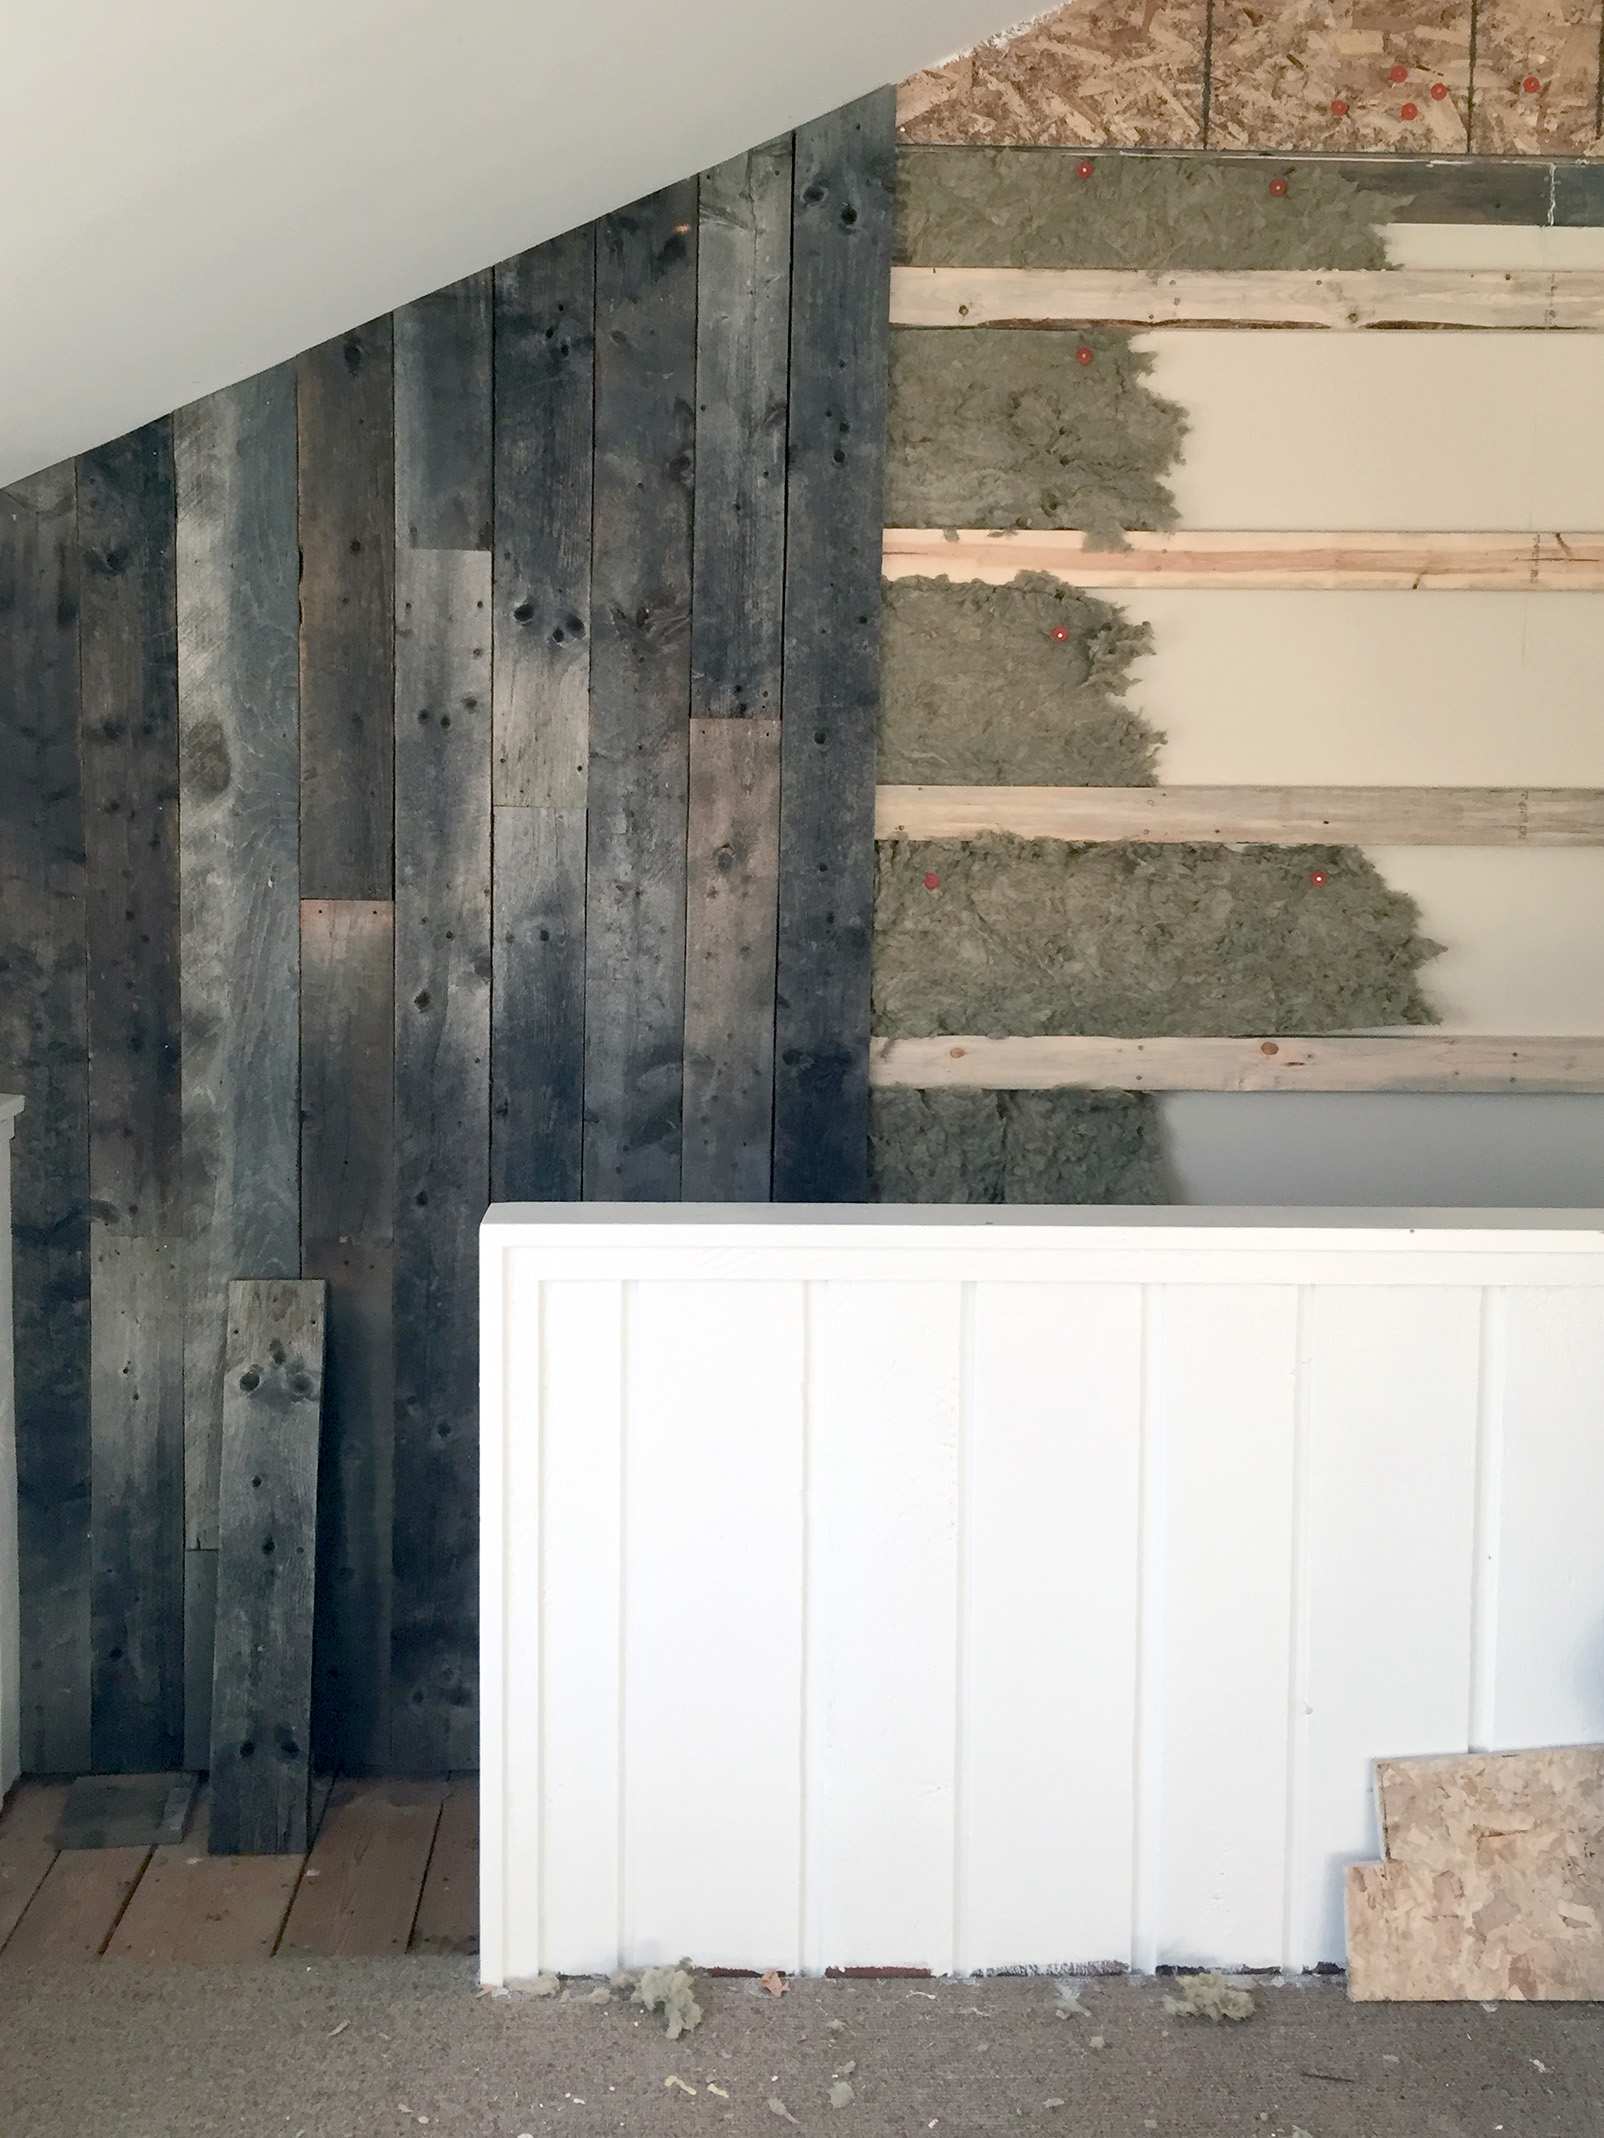
After a day or so of cutting and fitting. This is the finished product. I am thrilled with the way it came out.
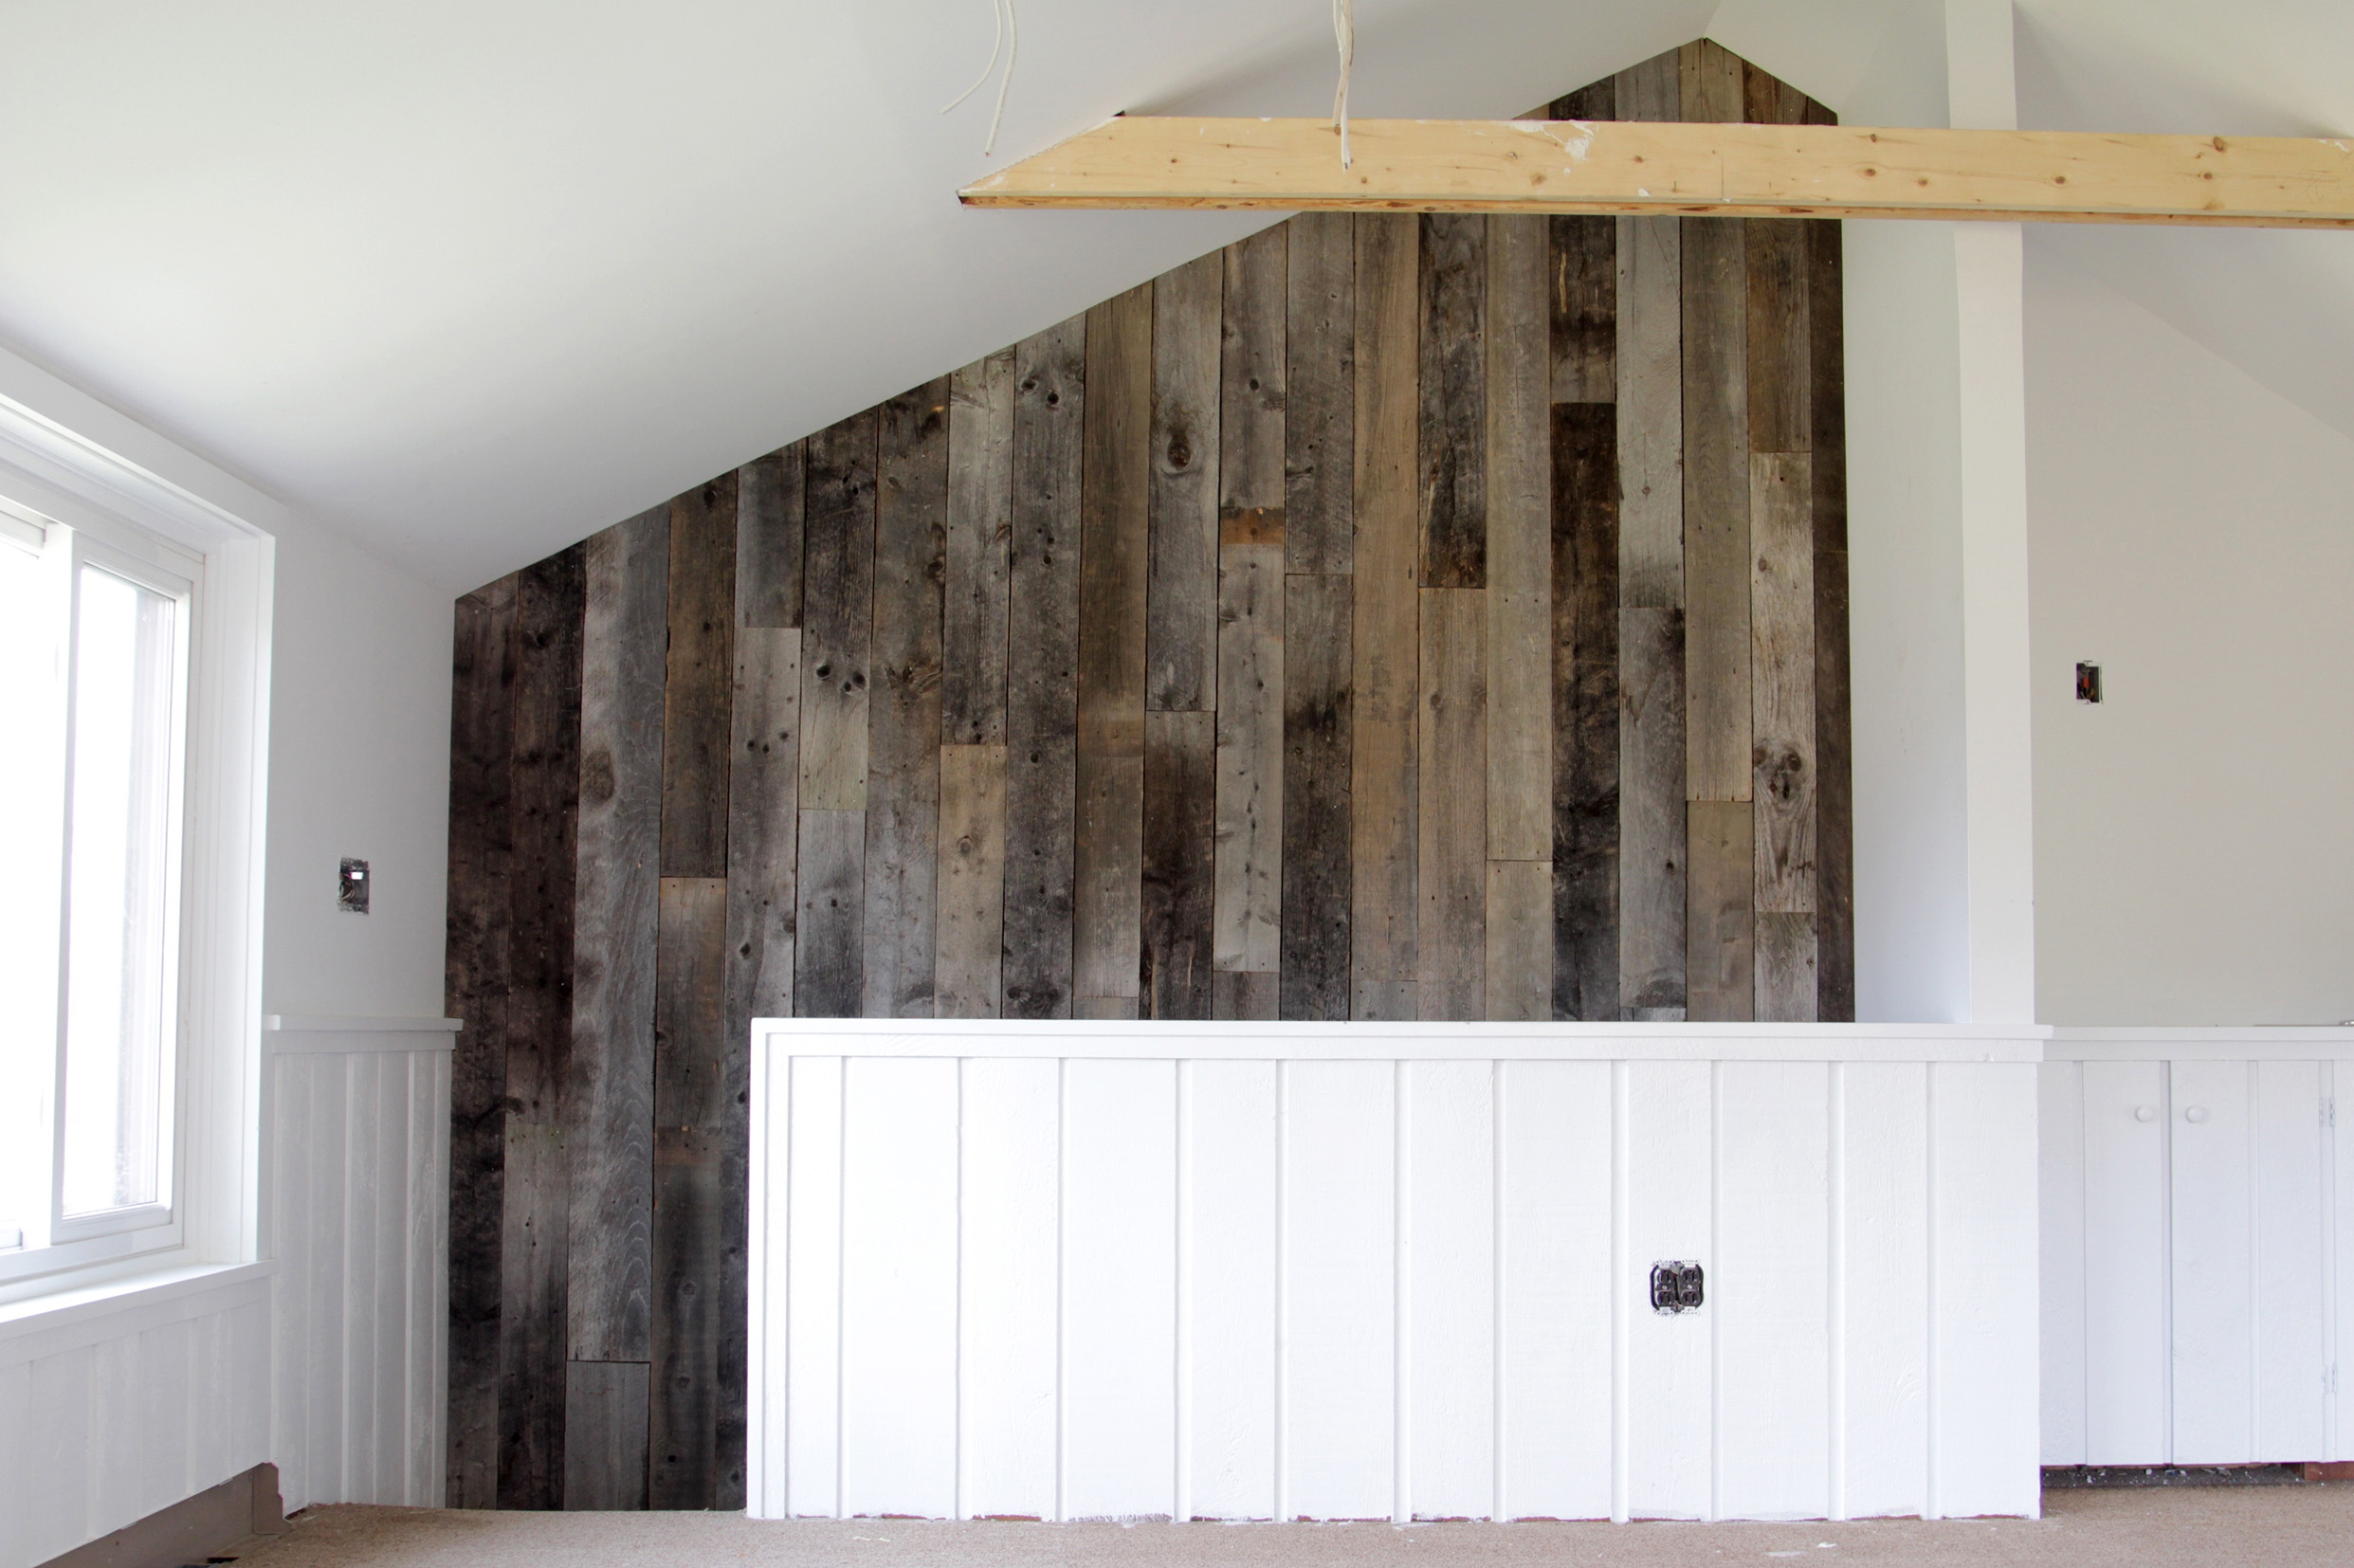
Some blood, sweat, and tears went into making this. Thanks Thom and Jedd!
Sorry, the comment form is closed at this time.